How to Get Rid of Moss in Your Lawn, Forever
The Causes of Moss Growth in Lawns
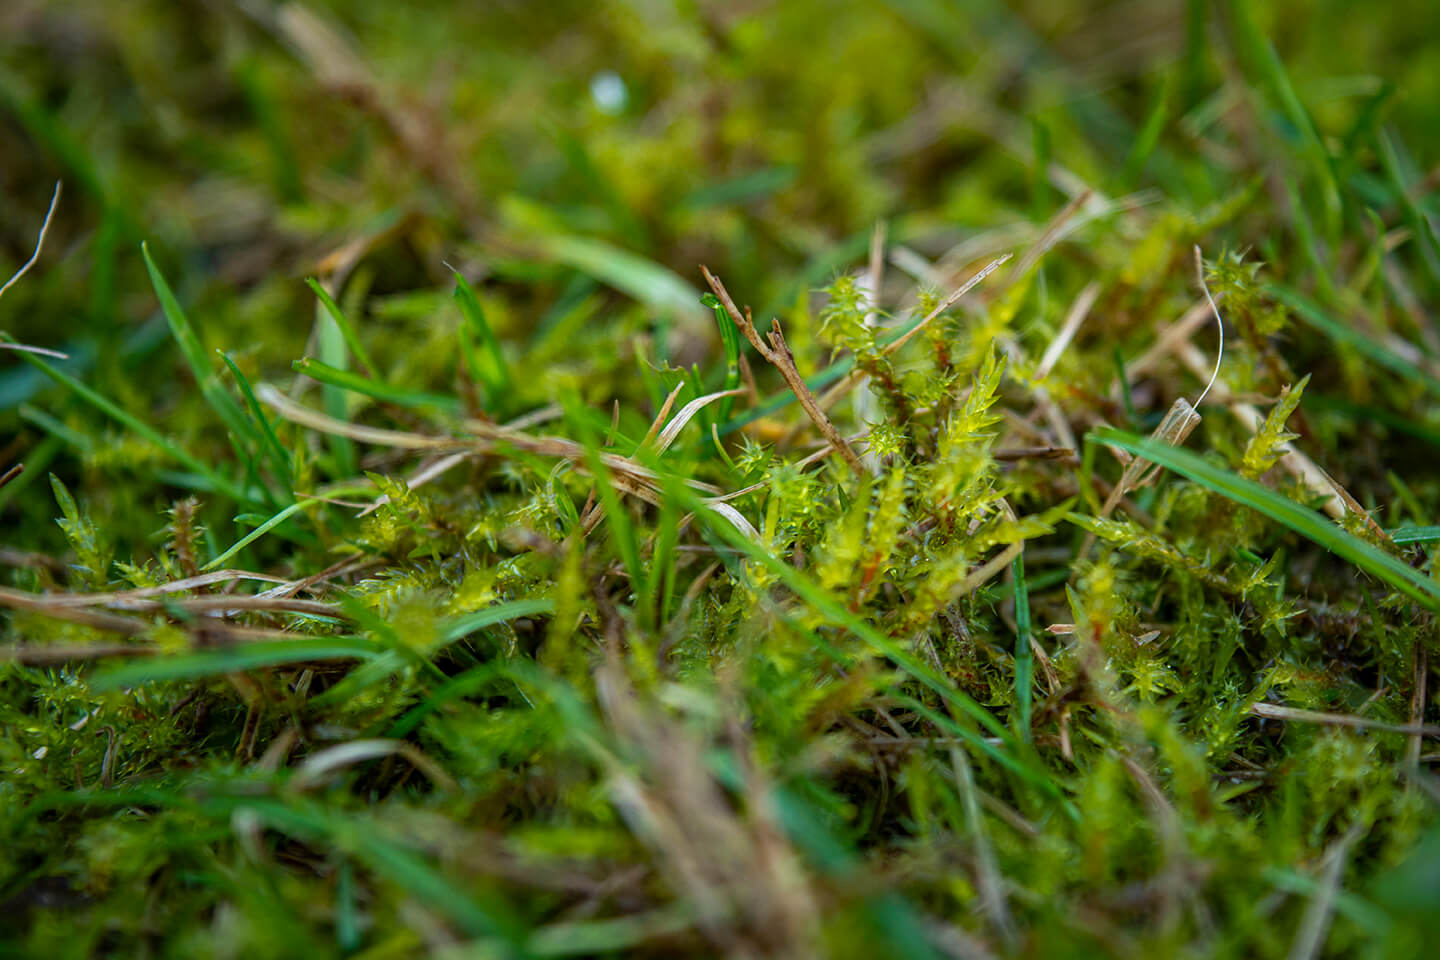
Sometimes even the most beautiful, well cared-for lawns can fall victim to a little bit of moss. Long periods of wet weather can cause moss to spore in spring and autumn and when dealt with at the first opportunity, it very rarely becomes a problem. However, the presence of a lot of moss is a sign that your lawn is in poor health. The most common causes of moss in lawns comes down to poor lawn care; • Letting the grass grow tall before mowing it short • Not feeding your lawn • Letting the soil become compacted from lots of use • Failing to control the build-up of lawn thatch • Not removing fallen leaves and other debrisSo how do we fix this?
How to Get Rid of Moss in Your Lawn, Step-by-Step
As I mentioned, even a well-cared-for lawn might have a bit of moss in it from time to time in which case, you can treat it fairly gently. On the other hand, if your lawn is more moss than grass, then treatment will be much more invasive. Either way though, like most things when it comes to lawn care, timing is important. In order for your lawn to recover quickly and look the best it ever has, you need to choose a time of year when conditions are best for grass growth. That means doing it in either the spring or autumn when there’s plenty on rain, sun and warmth.
How to Fix a Small Moss Problem in the Spring
If your lawn comes out of a wet winter with a little bit of moss, don’t worry, it happens to the best of us! Fixing it in the spring is easy;
Step 1: Apply a Moss Killer Apply your preferred moss killer at the recommended rate. We recommend a product called Moss Off. Its chemical free and perfectly safe for children, pets and wildlife, pond life. Depending on the product you use, some moss killers should be applied to a wet lawn, others should be applied to a dry lawn so read the instructions carefully. If you use a regular moss killer containing iron sulphate, leave it for 7-10 and you’ll see the moss turn black as it dies. Moss Off takes around 2-3 weeks.
Step 2: Scarify Your Lawn to Remove the Dead Moss Once the moss has dead, you can rake it out with a springbok rake if you don’t have any other equipment. Be warned though, this is very hard on your hands and back! Preferably you’d use a powered lawn rake or scarifier. Or even better, most of the lawn mowers in our homeowner range can be fitted with our quick cartridge scarifier. This removes the need to buy different machines. Once you’ve scarified, you need to help the lawn recover by following the next steps.
 Scarifier Cartridge
Step 3: Aerate Your Lawn It’s always a good idea to aerate your lawn in the spring but it’s even more important to do it after removing moss to allow water, air and nutrients into the soil where they can be consumed by the roots of the grass. You can aerate your lawn with a garden fork by poking holes 1”-2” deep into the surface. If you have large lawns, this can take a while. However, our Kensington Range and the Allett Liberty 43 can be fitted with our quick cartridge aerator. Again, this removes the need for different machines.
 Aerator Cartridge
Step 4: Overseed Your Lawn Removing moss and aerating will invariably expose some soil. In spring there are lots of weed seeds floating around. As such, it’s important to overseed to fill in any gaps with new grass seed before the dandelions find a home in your lawn.The addition of new grass will also create less room in your lawn for moss to grow the following winter.
Step 5: Apply a Spring/Summer Fertiliser Finally, give your lawn a helping hand by applying a spring/summer lawn feed. This will give the existing grass the nutrients it needs to grow strong and healthy during the spring, heading into the summer. It can also speed up germination of new grass seed.
How to Fix a Large Moss Invasion in the Autumn
If your lawn is more moss than grass, then killing it and fixing the underlying issues will be a more involved. It’ll also harder on your lawn. The reason we tackle large moss problems in the autumn is because chances are there won’t be much grass left in your lawn when you’re done. Doing this in the spring will open your lawn up to the millions of weed seeds floating around at that time of year. You’d risk replacing your moss problem with a weed problem. There are far fewer weed seeds floating around in the autumn so you’ll minimise that risk. The best time to tackle this is generally in September. The soil will still hold the warmth of the summer, there’s plenty of sunlight and the rains usually start. If you have lots of moss in your lawn, here’s how to fix it; Step 1: Scarify Your Lawn Firstly, scarify your lawn to remove as much moss as possible. A springbok rake will be useless if you have lots of moss, so use a powered scarifier. Again, our most of the lawnmowers in our homeowner range can be fitted with our spring timed scarifier cartridge. In order to remove as much moss as possible, scarify your lawn in two directions. Go lengthways, then widthways. This won’t remove all of it, so… Scarifier Cartridge
Step 2: Apply a Moss Killer Once you’ve removed the excess moss chances are there will still be plenty in your lawn. Apply a moss killer to the rest. Follow the instructions on the packaging and apply at the appropriate rate. Then wait for 7-10 days while it kills the remaining moss. You’ll see it turning black as it dies. Step 3: Scarify Again Once the remaining moss has died, scarify your lawn again to remove as much as you can. By now you should have removed 95% of it and your lawn will look pretty rough. Don’t worry, this is normal. It’ll look even worse as you go on. Step 4: Dethatch Your Lawn Now you’ve removed the moss, it’s time to address the issues that caused it. A big cause of moss in lawns is the presence of lawn thatch. Some thatch (a quarter of an inch) is a good thing. It protects the crown of the grass plant from damage and disease. However, too much can prevent water, air and nutrients from penetrating the soil. Instead, it just sits on the surface which creates two issues; 1. The grass doesn’t get the nutrients it needs so it gets weaker, and 2. The damp surface conditions create the perfect environment for moss to spore To fix it you need to dethatch your lawn. Many powered scarifiers come with changeable cartridges. A spring tined cartridge for removing moss and cartridge with vertical blades to remove lawn thatch. Our Kensington range and the Liberty 43 can be fitted with our dethatcher cartridge which has been designed especially for this job. In the same way as removing the moss, use your de-thatcher to two different directions to remove as much material as possible. You might be surprised at how much comes out.
 Dethatcher Cartridge
Step 5: Hollow-Tine Aerate to Relieve Soil Compaction (if Needed) By now your lawn will look fairly terrible. However if the soil in your lawn is hard and compacted, you’ll need to address this before starting a recovery program. Soil compaction occurs when your lawn is used a lot. The soil particles get squeezed together tightly causing the same issues as excess lawn thatch. Water and nutrients can’t work their way between the particles and into the soil, so grass can’t consume them. This not only affects the health of the grass, but again, the wet surface creates the perfect environment for moss to spore and spread. To test for soil compaction, take a 6 inch nail (or something similar) and push it into the soil. If you can push it in fairly easily then you shouldn’t need to aerate. However, if it’s really difficult, you’ll need to hollow tine your soil. Hollow tine aeration removes cores of soil from your lawn which creates room for the remaining soil to ‘relax’ into. The soil particles are able to separate from each other and allow nutrients and water to penetrate. If you have a small lawn, you can buy hollow tine forks. It’ll take a bit of work its necessary. Remove cores of turf at 4-6 inch intervals and you’ll have hundreds, if not thousands of 10mm wide holes in your lawn. For larger lawns, it’s best to hire a hollow tining machine from your local hire shop. It’ll save you hours of back breaking work. Step 6: Overseed Your Lawn It’s not uncommon for lawns that have had a lot of moss in them to look more like a patch of mud at this point. This is normal so don’t worry. This patch of mud is perfect for sowing new grass seed. Spread your chosen grass seed at the specified rate either by hand or with a seed spreader. You can spread seed fairly accurately by hand if you have a small lawn but it’s best to use a spreader if your lawns are any larger than 30sq meters. Once your grass seed is down, either tread your lawn or roll it to ensure a good contact with the soil. Step 7: Apply An Autumn/Winter Fertiliser There should still be plenty or warmth in autumn and there should also be plenty of rain to help the grass seed germinate. Applying an autumn/winter fertiliser will prevent the grass from growing to quickly and promote strong root development instead.
How to Prevent Moss From Ever Becoming a Problem in Your Lawn Again
You’ve killed and removed the moss and you’ve fixed many of the issues which caused it. It’d be a shame to let it take over your lawn again in the future. So how do you prevent that from happening? Good lawn care practices. Mow the Lawn Properly Mowing the lawn is by far the most important part of lawn care. It’s also the most overlooked. Many people don’t mow their lawns enough, letting the grass grow tall before cutting it all off in one fell swoop. However, grass stores food and water in its leaves. Imagine if someone took 50% of all of the water and nutrients out of your body. You’d be pretty poorly. It’s exactly the same for grass. In fact, it’s even worse because when you cut away so much of its leaf, you reduce its ability to photosynthesize and produce more food. The result is unhealthy grass that can’t grow. And where grass doesn’t grow, moss and weeds do. By mowing the lawn regularly (at least once a week during the growing season) and never removing more than a third of its lengths at a time, you prevent the grass from growing too tall. This means it has to grow in other ways. So it grows new shoots, new runners and new roots, which in turn, produce new leaves. This results in a thicker, lusher, healthier lawn with no room for moss can’t get a foothold. Use a cylinder mower for a healthy cut!

Control the Build-Up of Lawn Thatch As mentioned, having some thatch in your lawn is a good thing. By scarifying your lawn with a spring tined scarifier in the spring and/or verti-cutting (or vertical mowing) through the growing season to remove lateral growth, you control the build-up of thatch. This means water, air and nutrients are able to penetrate the soil and provide the grass with everything it needs to grow strong and healthy. The Allett Kensington range and Liberty 43 can be fitted with our optional scarifier and verticutter cartridge to make the control of thatch build up very easy.
 Verticut Cartridge
Aerate Your Lawn to Reduce Soil Compaction You can aerate your lawn with nothing but a garden fork by poking 1”-2” holes into the surface of your lawn. This will create space for water, air and nutrients to work their way into the root zone where they can be consumed by the grass. Aeration is especially important on areas of your lawn which get used a lot. Again the Allett Kensington range and Liberty 43 can be fitted with our aerator cartridge which takes all the manual effort out of aerating your lawn. Fertilise Your Lawn at the Right Time Moss thrives in nutrient deficient soil. If you don’t give your lawn the nutrients it needs, or you give it the wrong nutrients at the wrong time of year, grass can’t grow properly. This leaves it open for moss, weeds and disease to creep in. In spring summer, applying a higher Nitrogen spring/summer fertiliser gives your grass the nutrients it needs to grow and spread healthily. When you apply a lower nitrogen autumn/winter fertiliser you give the grass the nutrients it needs to protect itself from the harshness of winter. Keep Your Lawn Clear of Fallen Leaves and Other Debris During the autumn and winter, fallen leaves and other debris will often find their way onto your lawn. If you leave them to sit there, they block the light your grass needs to photosynthesize and produce food. They also, trap moisture on the surface where moss and fungal disease like to spore. In addition, they cause an increase in worm casts as earthworms come to the surface in the search for food. Find a video of the Allett Kensington and Scarifier cartridge collecting leaves here Changes You Can Make to Your Garden as a Whole to Prevent Moss In the vast majority of cases, proper lawn care procedures are what will help in the battle against moss. That said, there are changes you can make to your garden as a whole to improve the environment your lawn resides in. Improve the Structure of Heavy Clay Soil If your lawn grows on clay soil then you’ll have a harder time keeping on top of moss. Grass doesn’t grow well in heavy clay soil because it can essentially ‘seals’ itself when it gets wet. This means air and nutrients can’t penetrate and surface water just sits there. If this is the case, you have two options; 1. By hollow tine aerating your lawn to remove cores of clay soil and then top dressing with a sandy topsoil you’ll improve the soil profile over time. However, doing it once won’t make much of a difference. Try to do it twice in the spring and twice in the autumn over the course of a couple of years. 2. The other option is to dig out the clay soil and replace it a loamy topsoil. Unfortunately, both of these options are expensive. Reduce the Amount of Shade Over Your Lawn If your lawn is north facing and shade is cast by buildings, there’s not much you can do. That said if shade comes from other plants or trees, try pruning them. For trees, try to make sure any branches are at least two meters off the ground and prune thick foliage to let more light through. Be careful when working on trees though. You need to make sure any trees you want to prune don’t have preservation orders against them. Bushes and hedges are dense but they can be thinned to let more light pass through them. If after all this, you still have a shady lawn, overseed with a grass seed blend that’s specifically made for shady areas. Improve Air Circulation Around Your Garden If air isn’t free to flow over your lawn then rain water and dew dry as quickly as it should. In some cases, the surface of your lawn could remain constantly damp, which is perfect for moss growth. Try to improve air circulation my thinning plants and bushes. If you have solid fence panels, consider swapping them for slatted panels. In Conclusion Moss is a problem which troubles many lawn owners. That said, once you understand the causes and what to do to fix them, removing it and preventing its return is really quite simple. All it takes is a bit of knowledge and the dedication to apply it. Thanks to Tim Stephens for his time and expertise on this blog. Visit https://www.gardenseeker.com/ for more expert gardening tips and practical advice